The Once a Year Dress
July 25, 2016#GlamorousJuly Week 4 – In Which I Go to the Shops without Make Up and Smear Banana on my Face
July 29, 2016When I was a teenager I used to make my own beauty products a lot.
From intensive hair conditioners to body scrubs and facemasks, I would often raid my Mums kitchen cupboards to make beauty concoctions.
Then I started buying them in packets from Boots and I mostly stopped.
Monday’s #GlamorousJuly challenge was to treat myself to a facemask. So I decided it was time to rummage through my kitchen cupboards and make myself a DIY Facemask again. It worked so well I thought I’d share the recipe.
I cobbled this together from several online source, vague memories of my teenage experiments and properties I know the products have. After hanging around my living room with this on my face for 20 I washed it off and my skin felt super smooth, soft, firm and refreshed.
Here’s what you’ll need and why it’s awesome!
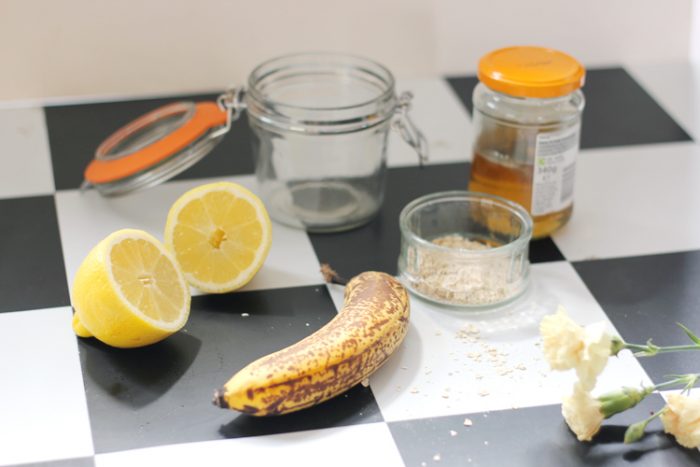
Bananas are a great base for a DIY facemask. You need a super ripe and squishy one, and if you have one you’re not ready to use then you can freeze it. Bananas are great for blemishes and also very soothing, so are unlikely to irritate sensitive skin. They are rich in Vitamins A & E which are anti-aging.
Lemon is a natural astringent that tightens pores and can help even out your skin tone.
Oats will have a gentle exfoliating effect and are also great for soothing dry and sensitive skin.
Honey is a natural antibacterial, so great if you suffer from occasional breakouts.
[infobox maintitle=”DIY Banana, Oat, Honey & Lemon Facemask” subtitle=”Make your own soothing and brightening facemask” bg=”red” color=”black” opacity=”on” space=”30″ link=”no link”]
You will need:
1 ripe banana
2 dsp (approx 15g) Rolled Oats (the usual breakfast porridge kind!)
2 tsp Honey
Half a fresh lemon
I made mine in a nutribullet by bunging in all the ingredients and giving it a whizz.
You can also mash the banana by hand and then mix in the other ingredients.
Don’t use too much lemon. I gave my half a lemon a light squeeze, maybe about 2 tsp of juice?
If you make your mixture too runny you can add more oats to thicken it up a little.
Leave the mixture to chill in the fridge for half an hour before using and it will feel super refreshing on your skin!
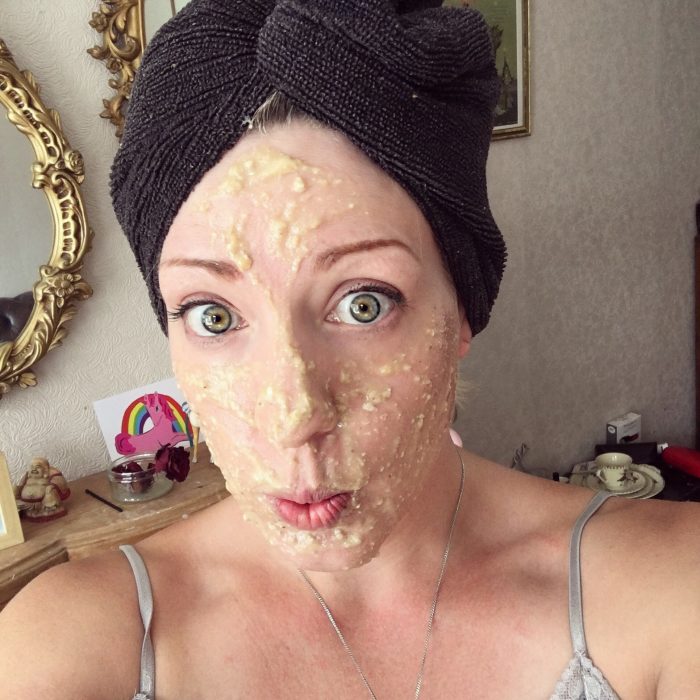
As the ingredients for this DIY Facemask are fresh and there are no preservatives you’ll want to use this on the day it’s made. Bacteria can grown quickly, especially in the presence of nice tasty sugar in the honey and you don’t really want to be smearing that on your face!
You can even eat what’s left if you want! I didn’t eat the leftovers, but it certainly tastes nicer if you accidentally lick your lips than anything I’ve ever bought in a packet!

1 Comment
Great!
http://www.evdaily.blogspot.com