DIY – Recycling Vintage Scarves.

The other day I found this gorgeous scarf in a Charity Shop for 50p. I adored the print so I bought it, but it just didn’t work with anything.

Folded up and wrapped around my neck you couldn’t see the print, as a headscarf I looked like one of those scary religious people who used to get on my train home from school and the shape wasn’t quite right for just draping round my neck, so I was stumped.

Then, whilst writing a post on Oxfam DIY I found a guide on turning a scarf into a top and decided rather than letting it languish unloved in my wardrobe I’d risk a bit of DIY.
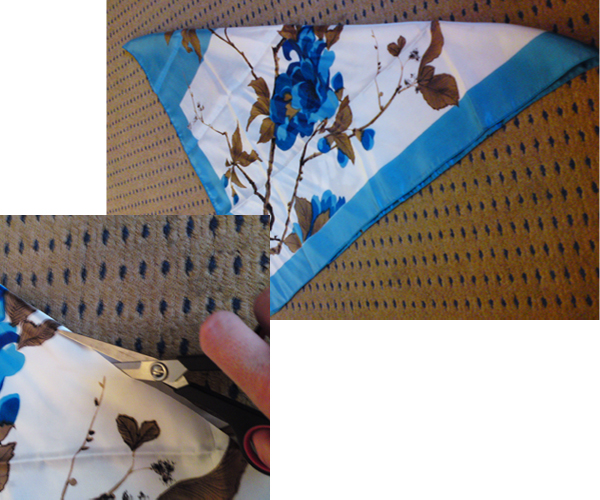
First I folded it in half diagonally, then cut down the fold. I tried about a quarter of the way first, but it wasn’t low enough, so I went a full half way along.

Et voila! One halter top.

The DIY instructions suggest just tying the ends behind you at your waist, but I needed a little more definition at my waist than that provided, so I tried wrapping it and adding an elasticated belt, which seemed to work.

I still need to get some ribbon to bind the edges so they don’t fray, and I will join the back 2 corners with some ribbon or elastic so they don’t slip around under the belt, but I pretty much think I have a nice new top for 50p. Bargain!

15 comments for “DIY – Recycling Vintage Scarves.

Comments are closed.